What to Do After Water Damage: First 24 Hours Checklist
Water in your home can feel scary and overwhelming. The good news: you can protect your family, limit damage, and move toward a full recovery by taking the right steps—right away. This guide explains what to do after water damage in clear, simple steps you can follow today. At Incredible Restorations, we bring over 7 years of professional roofing experience. We’ll cover safety, stopping the source, documentation for insurance, emergency water extraction, structural drying, cleaning, and mold prevention after water damage.
Quick Answer (Do These First)
- Make sure everyone is safe; watch for slip hazards and electric shock.
- Shut off main water if the leak is active; turn off power to wet areas if unsafe conditions exist.
- Take photos and videos of everything before you move items.
- Protect valuables; move dry items to a clean, dry room.
- Call your insurance company to open a
water damage insurance claim.
- Contact an IICRC-certified company for
water damage cleanup and water damage restoration.
- Start drying within 24–48 hours to lower the risk of mold.
Safety First: Utilities, Contamination & PPE
Water damage can hide risks. Treat every loss with care.
Electrical safety after flooding
- If water touches outlets, cords, or the breaker panel, don’t enter the room until power is shut off to those circuits.
- Never stand in water while handling electrical devices.
Gas and structural concerns
- If you smell gas or the building seems unsafe (sagging ceilings, buckled floors), evacuate and call the utility company or fire department.
Water categories: know your risk
- Category 1 (clean water): From a supply line or rain through a clean roof. Lower risk if dried fast.
- Category 2 (gray water): From dishwashers, washing machines, or slightly dirty sources. Needs disinfection.
- Category 3 (black water): From sewage, flooding, or water that has sat for too long. High contamination; requires specialized handling.
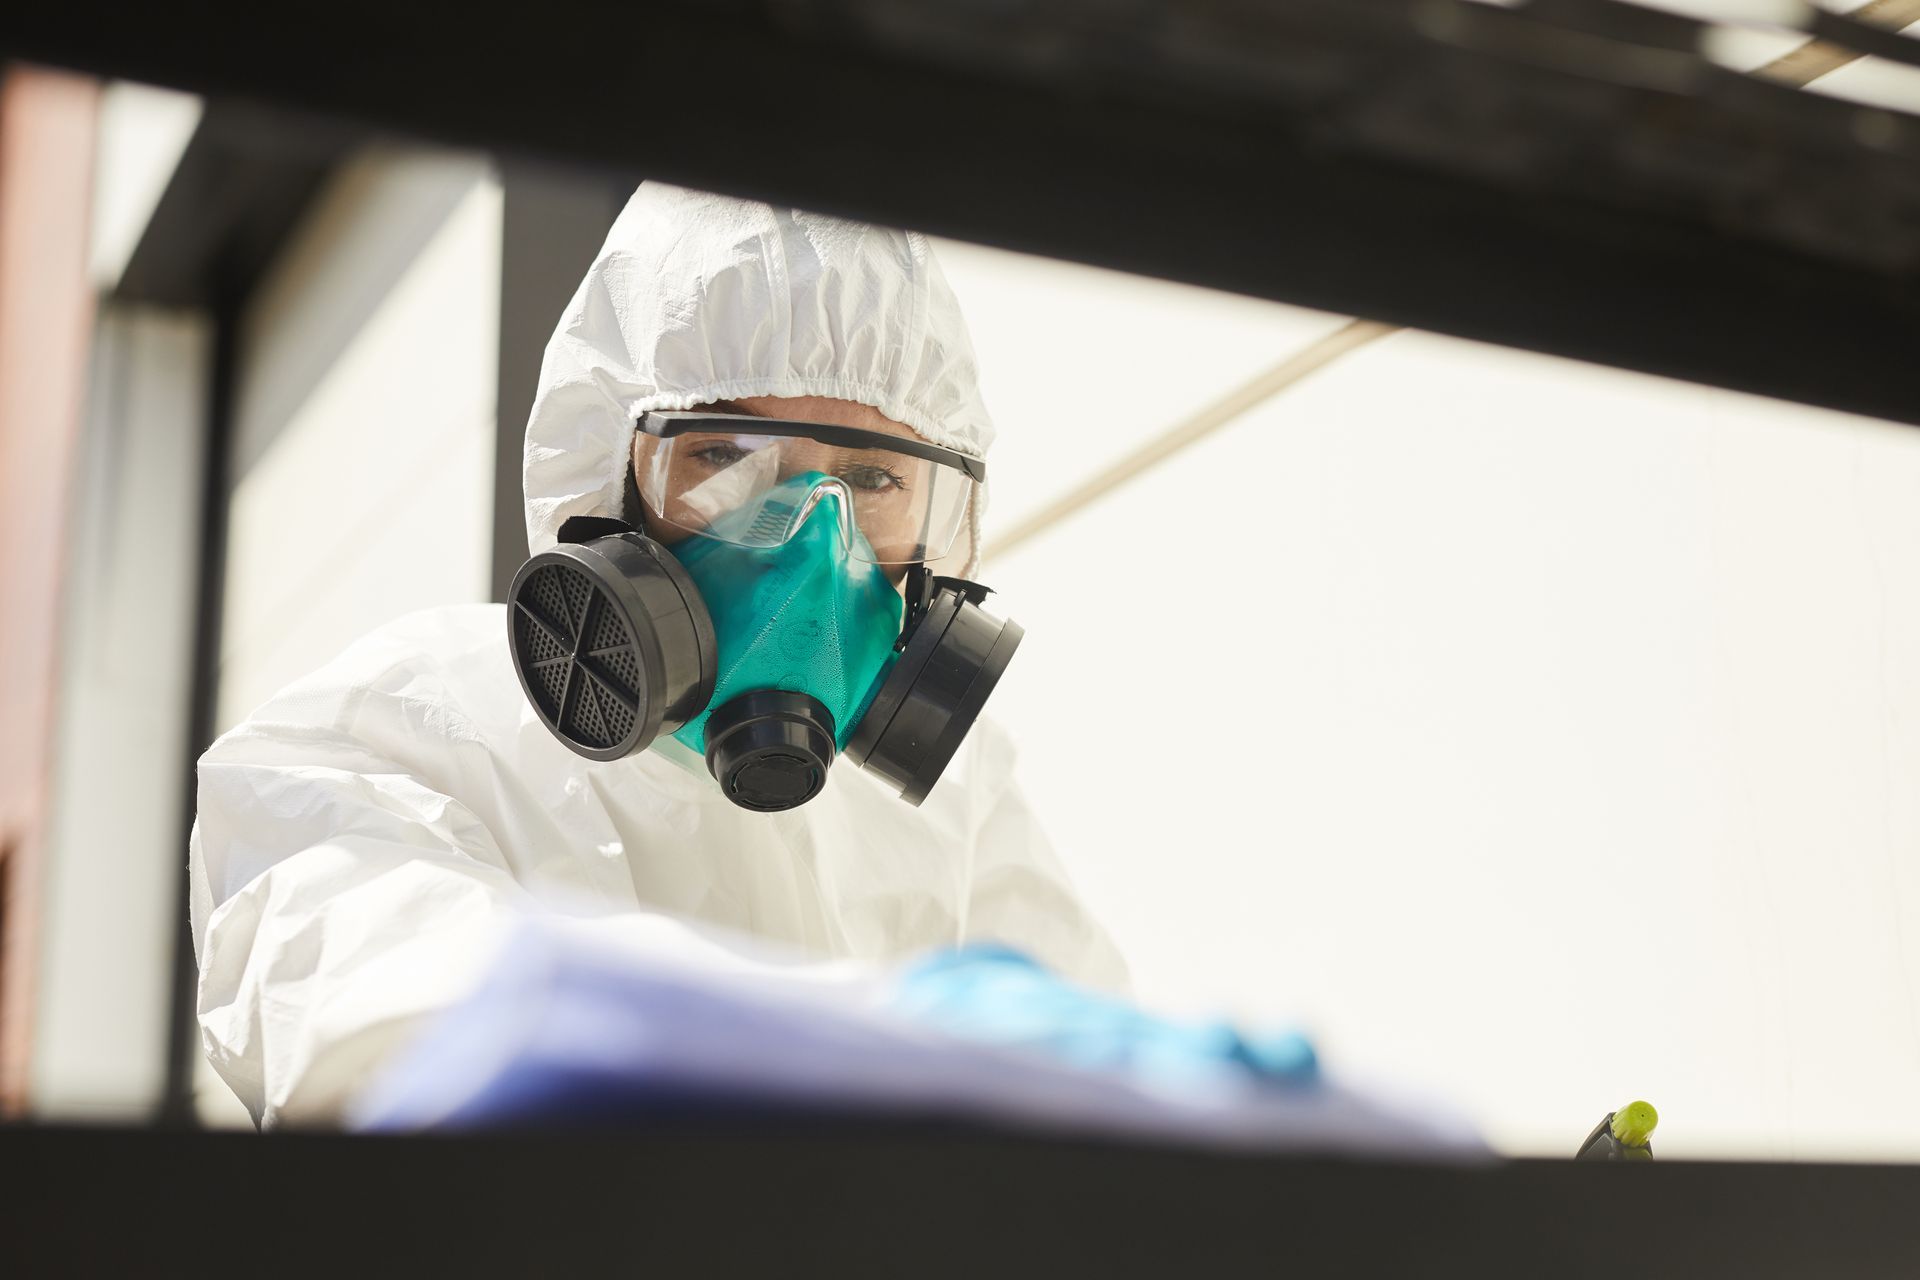
Personal protection
- Wear gloves, boots, and a mask when handling wet materials.
- Ventilate carefully if conditions are safe; avoid blowing moist air into unaffected rooms.
Stop the Source & Stabilize the Property
Stop the water source
- Use the main shutoff valve to stop the flow.
- Turn off individual fixture valves (toilets, sinks) if the main isn’t needed.
- For roof leaks, place containers and consider temporary tarping. For
window/door leaks, use towels and plastic sheeting until help arrives.
Limit spread and cross-contamination
- Keep foot traffic out of soaked areas.
- Close doors or set up plastic to separate wet rooms from clean rooms.
- Remove small rugs and items that bleed color.
Documenting the Loss for Insurance
Strong records make claims go smoother.
- Take wide shots of each room, then
close-ups of damage, labels, and serial numbers.
- Create a simple spreadsheet for
document water damage: item name, brand, age, condition, and estimated cost.
- Save every receipt for
temporary repairs, cleaning supplies, fans, dehumidifiers, and
additional living expenses (hotel, meals, laundry).
- Keep a log with dates, times, and names for all calls with your adjuster and contractors.
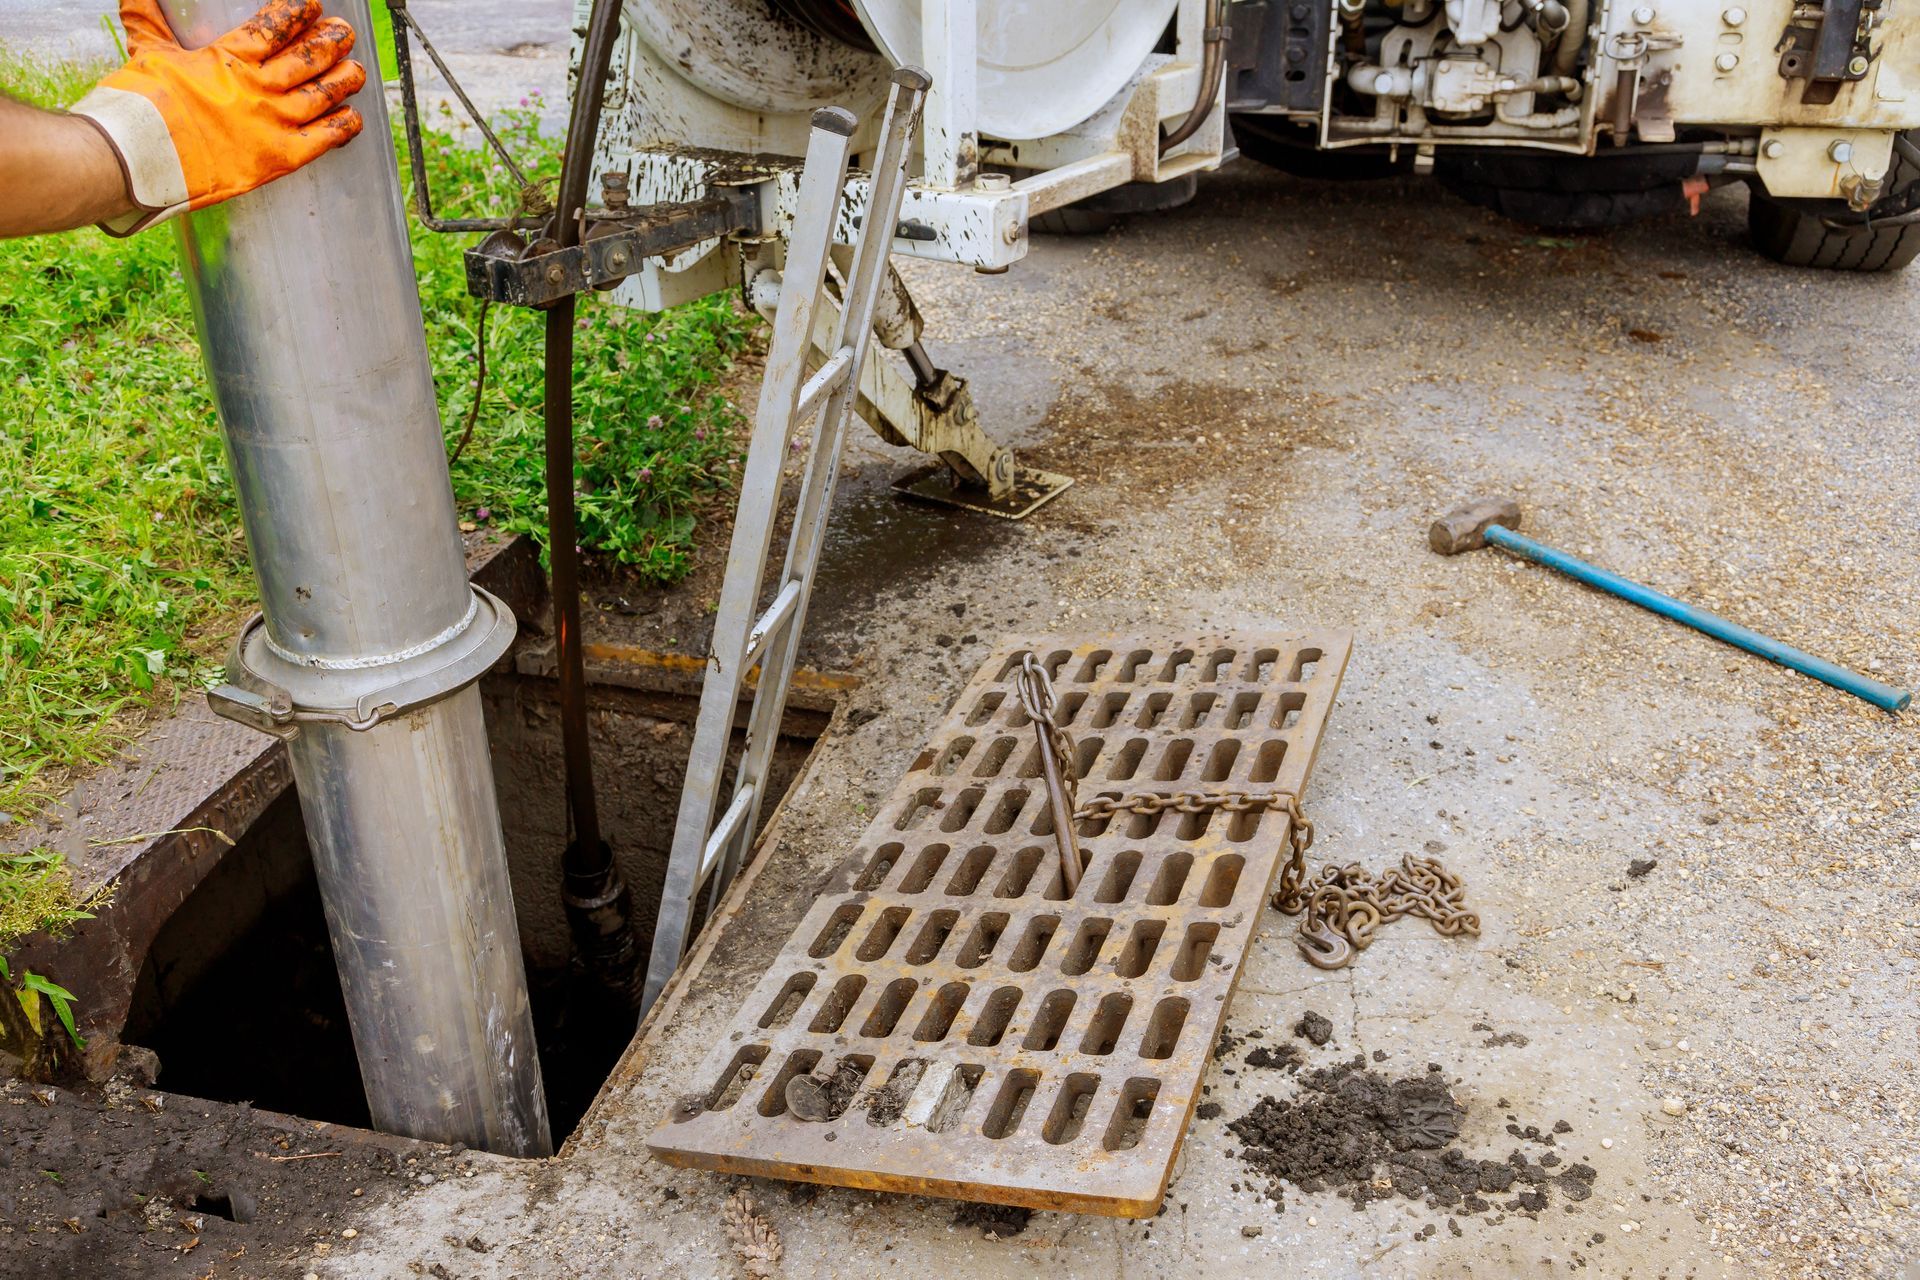
Emergency Water Extraction & Containment
Quick removal stops further damage.
- Pump or vacuum standing water if it’s safe to do so.
- Professionals use truck-mounts and high-capacity extractors for
emergency water extraction.
- On contaminated losses (Category 2–3), they may set up plastic walls and
negative air to control airflow and protect clean areas.
Prioritize high-risk assemblies
- Ceilings with visible bulges: carefully pierce to relieve water only if you know what’s above and it’s safe, otherwise wait for a pro.
- Cabinets, wall cavities, and insulation can trap moisture—these often need special drying methods or removal.
Structural Drying & Dehumidification
Drying is a science, not just fans.
- Moisture detection and
moisture mapping show what’s truly wet using meters and thermal cameras.
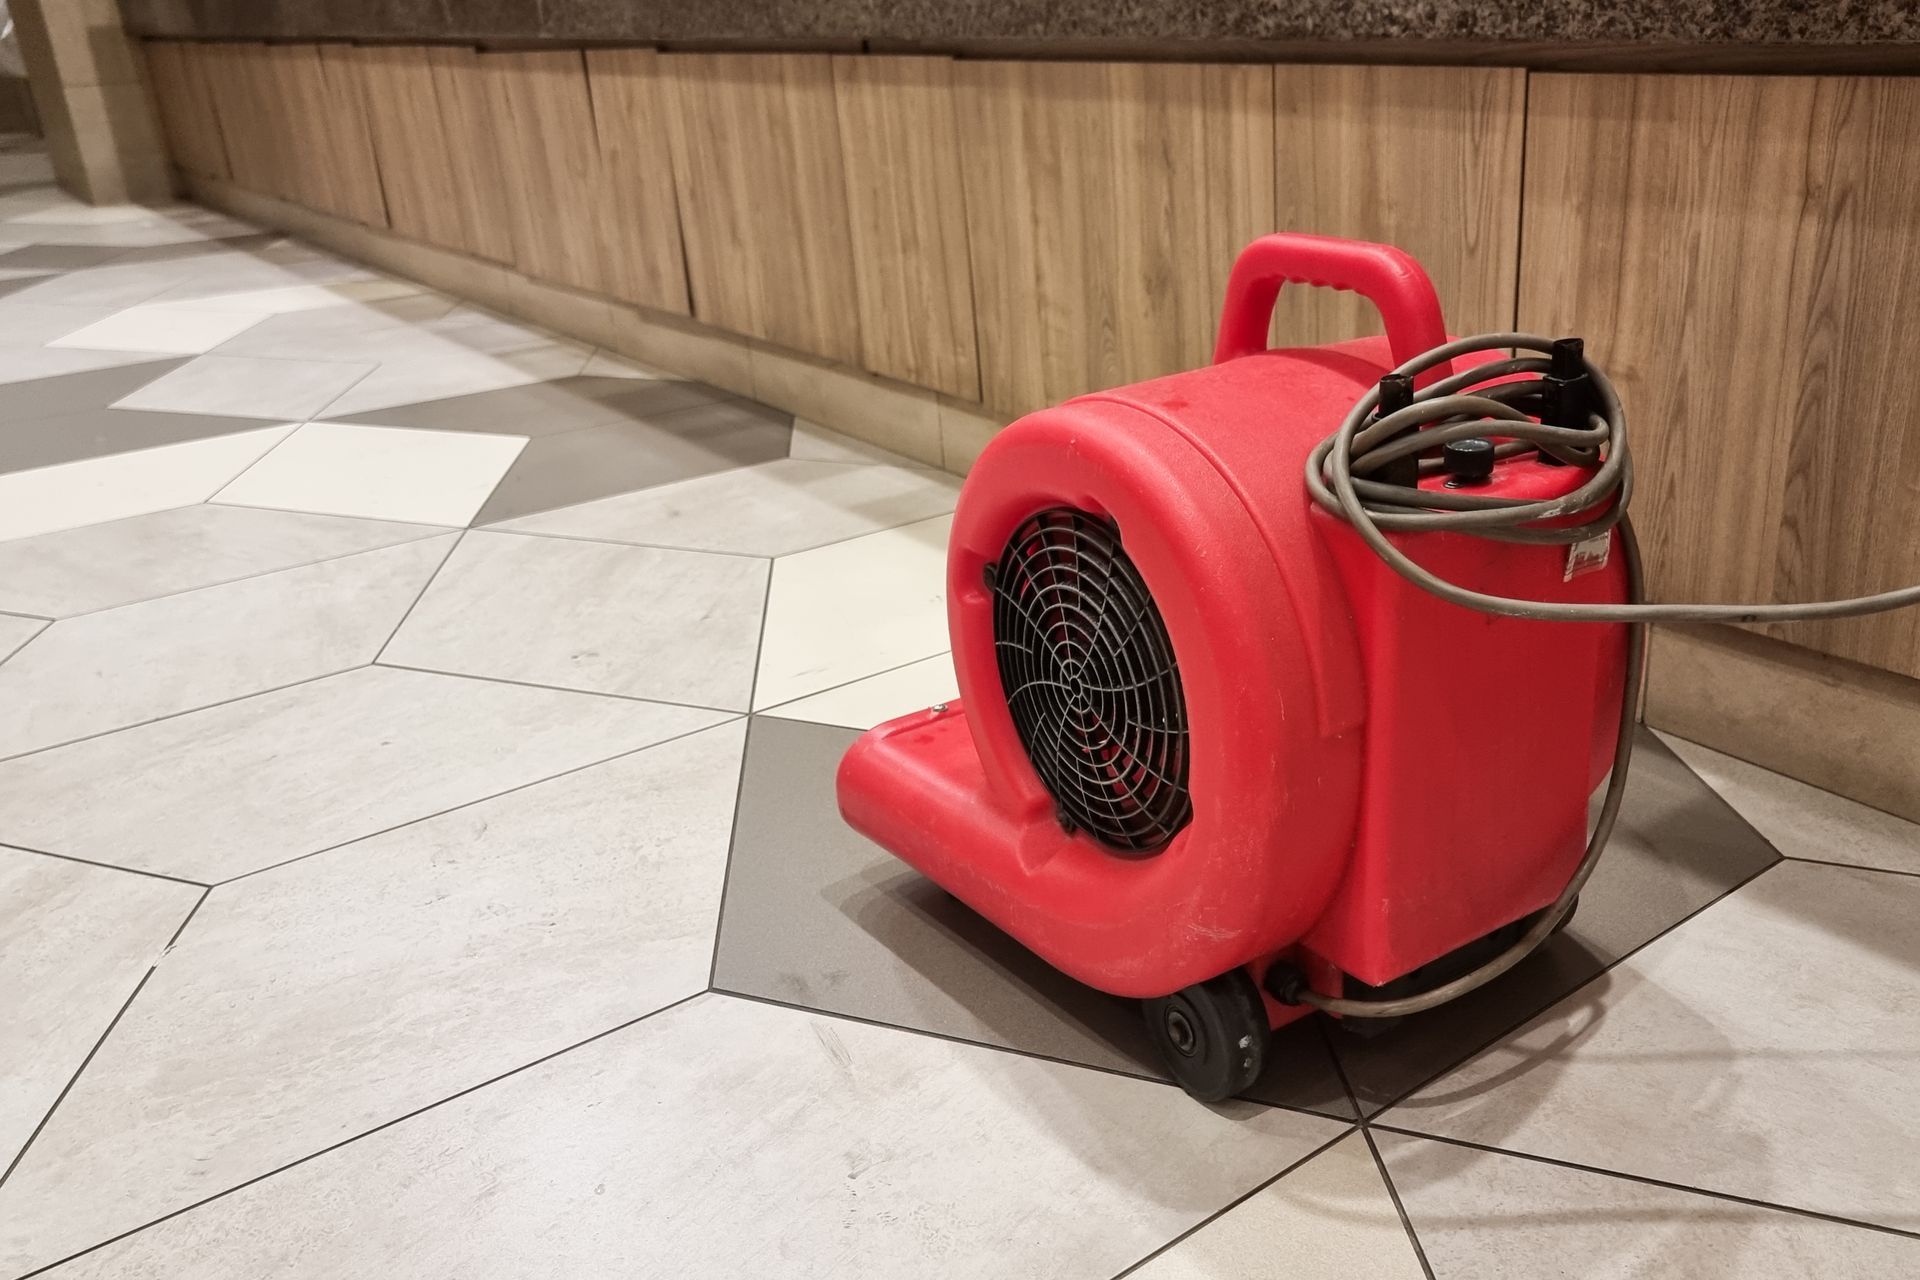
- Pros design a drying plan with
air movers,
dehumidification, and air exchange to pull moisture out of materials.
- Daily
moisture meter reading confirms progress toward “dry standards.”
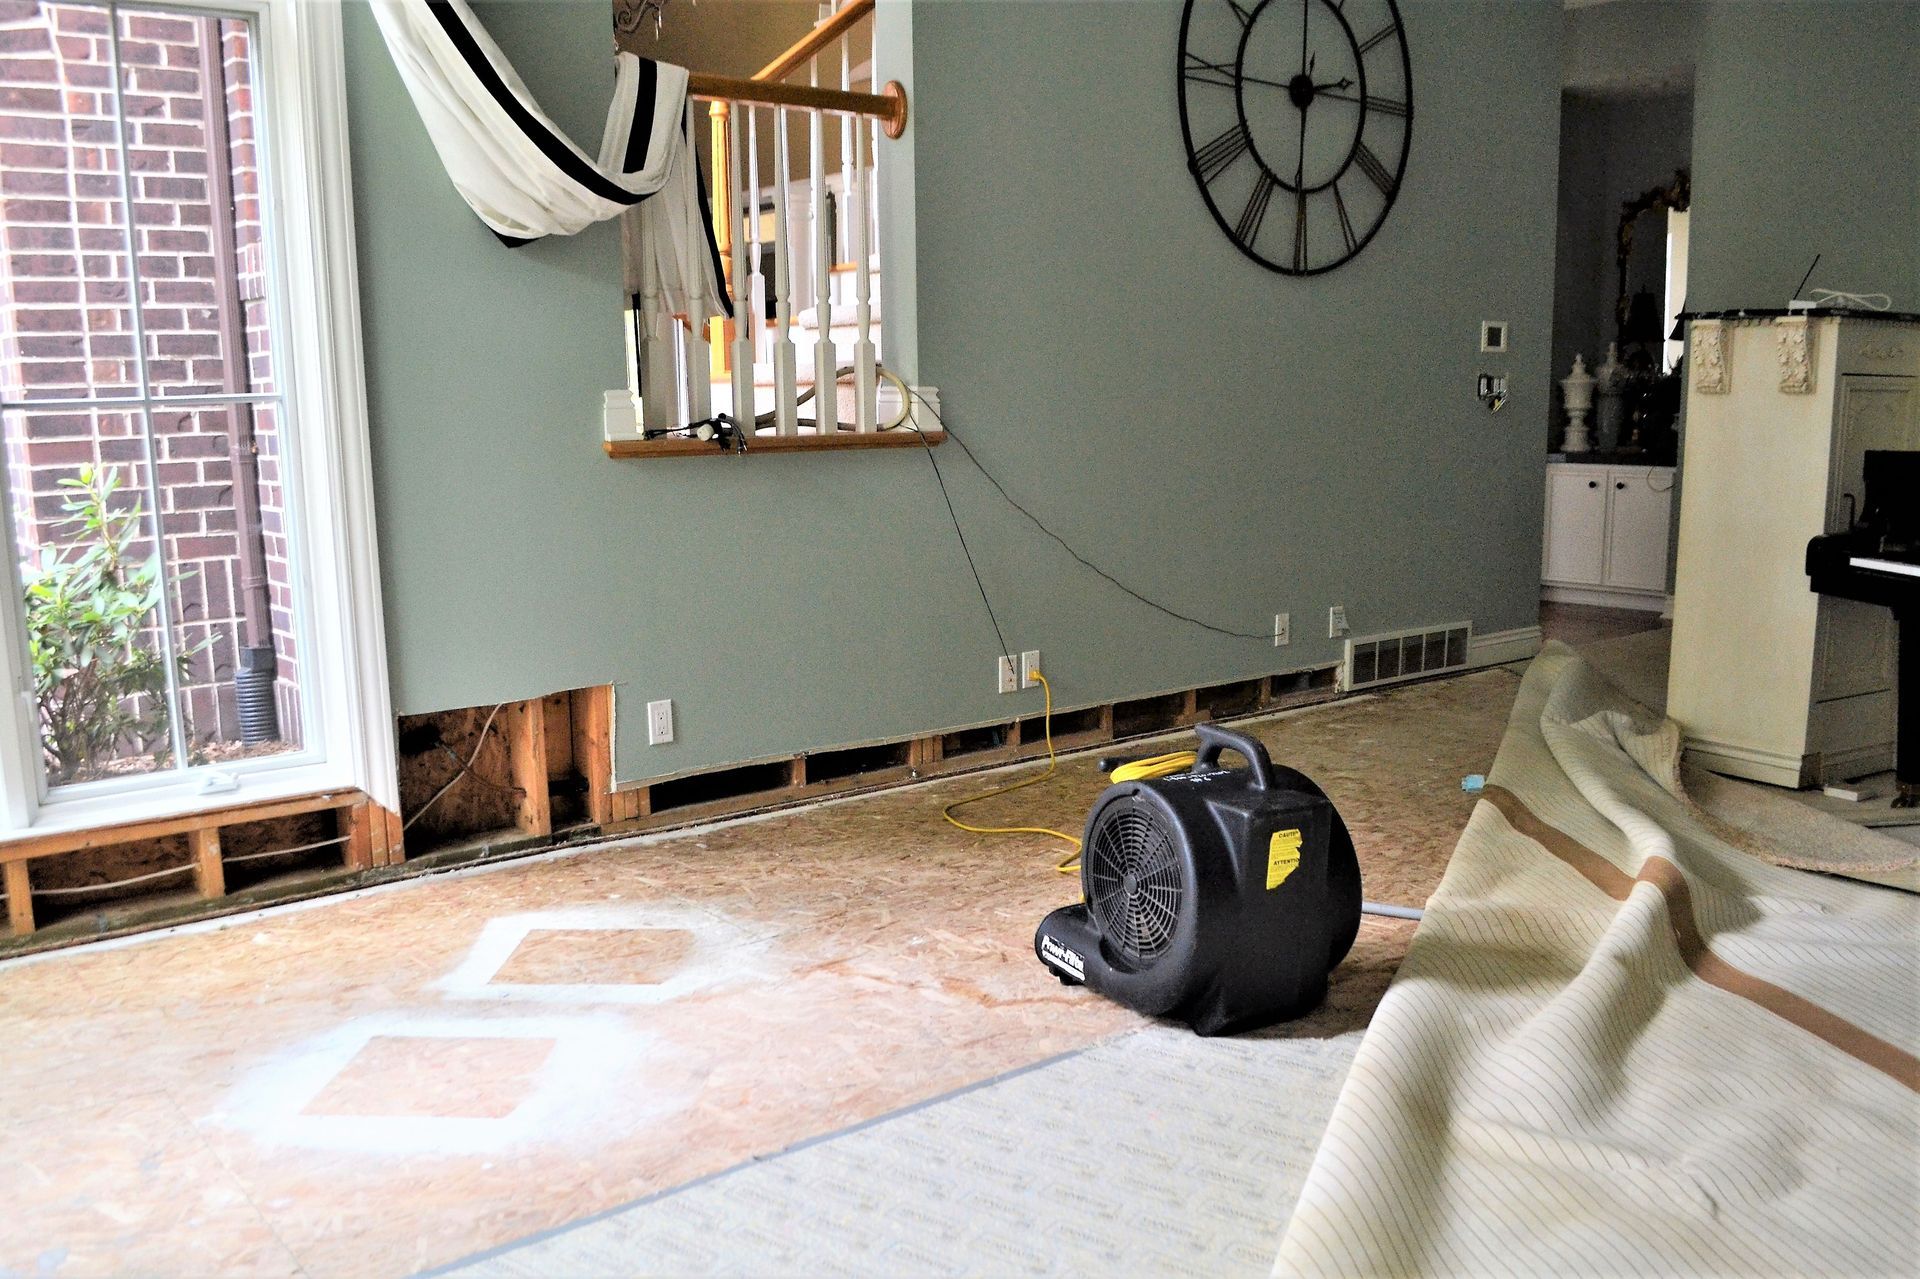
When removal is necessary
- Drywall and carpet removal may be needed when materials are saturated or contaminated.
- Baseboards may be pulled to dry wall cavities.
- Special considerations for hardwood, cabinetry, and tile require targeted techniques to prevent warping or hidden moisture.
Cleaning, Disinfection & Odor Control
Sanitation depends on the water category.
- For Category 1, cleaning may focus on soils and preventing
odor removal needs.
- For Category 2–3, expect
disinfect and sanitize steps with
antimicrobial treatment, plus
HEPA air filtration during active work.
- Deep cleaning of floors, walls, and contents follows once materials hit dry targets.
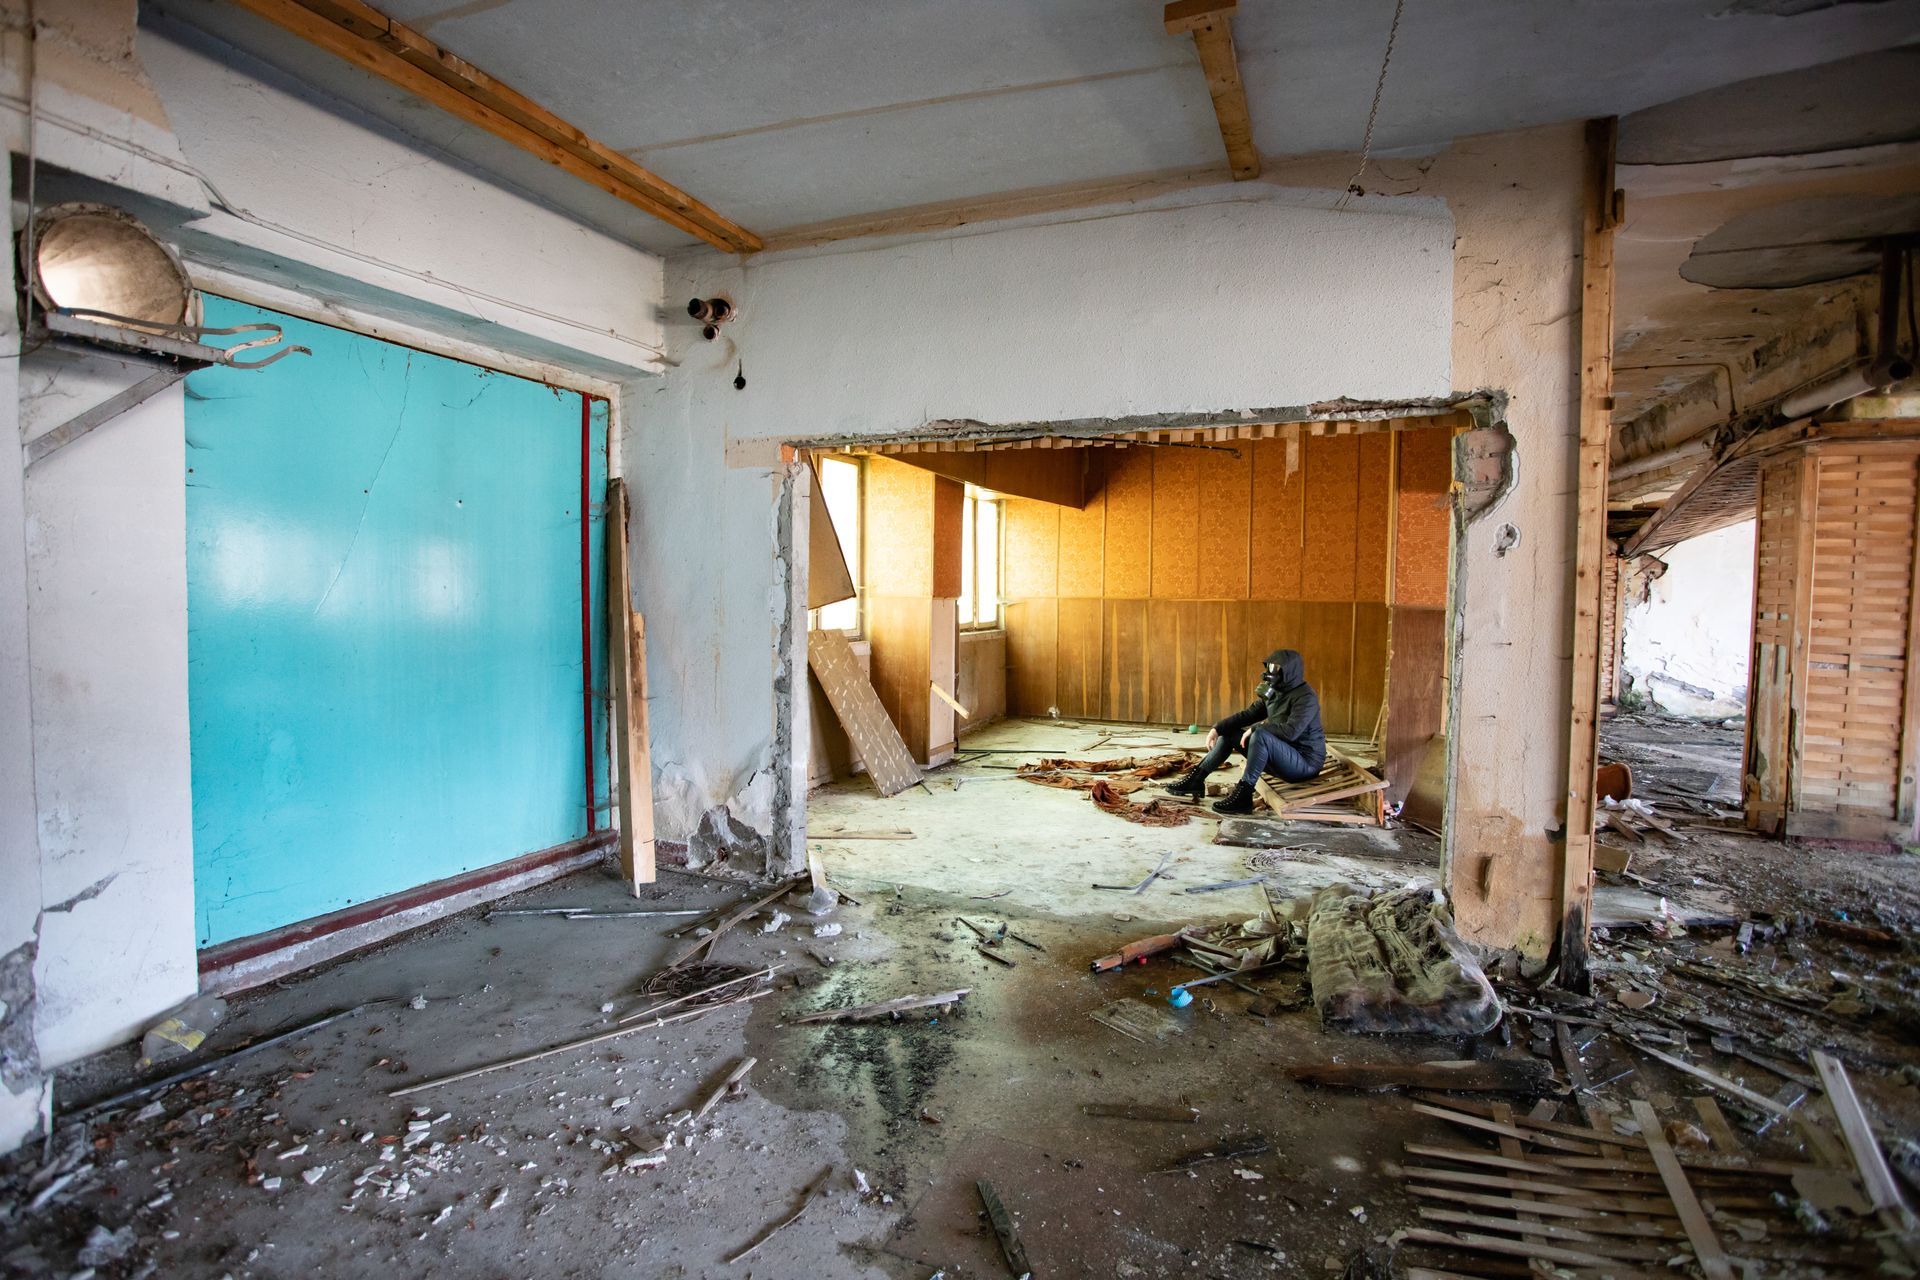
Mold Prevention & Remediation Triggers
Mold can begin growing in 24–48 hours on damp, porous materials.
How to lower risk
- Dry quickly and thoroughly with professional equipment.
- Keep humidity under 50% during drying using
dehumidification.
- Remove items that can’t be cleaned and dried, like soaked insulation and some carpets.
When it becomes mold remediation
- Musty odors that don’t fade, visible growth, or repeated high moisture readings are red flags.
- A separate, controlled process with containment and HEPA filtration may be required.
Contents: Salvage vs. Discard Decisions
Not everything needs to be tossed, but safety comes first.
- Porous vs. non-porous materials: Books, unsealed wood, and fabrics hold moisture and microbes; glass, metal, and some plastics clean up better.
- Electronics: Don’t power on until inspected; moisture and minerals can short components.
- Documents and photos: Freeze-drying and specialty services can save cherished items.
- Contents pack out: A professional team can inventory, clean, deodorize, and store belongings while your home dries.
What Not to Do After Water Damage
Avoid these common mistakes:
- Don’t turn on the
HVAC if returns or ducts were wet; you could spread moisture and contaminants.
- Don’t use household bleach on porous materials—it won’t reach deep moisture and can damage finishes.
- Don’t paint over damp walls; the paint will trap moisture.
- Don’t ignore
bulging ceilings, popping tiles, or soft subfloors—these can be safety hazards.
Working with Insurance & Your Restoration Team
Clear communication shortens the process.
- Ask your adjuster what’s covered: structure, contents, and
additional living expenses.
- Choose a licensed, insured, IICRC-certified company for
water damage restoration.
- Expect a written scope with line items for
emergency water extraction, demolition, structural drying, cleaning, and rebuild.
- If hidden damage appears, your contractor may submit “supplements” for approval.
- Decide early which finishes you want to match and which you may upgrade.
Reconstruction & Returning to Pre-Loss Condition
After the home is clean and dry, repairs can begin.
- Typical work includes drywall, insulation, flooring, trim, paint, cabinets, and sometimes electrical or plumbing repairs.
- Your contractor will help with permits and inspections if required.
- Discuss timelines, budget, and material lead times before placing orders.
Cost & Timeline Snapshot
Every project is unique, but a few factors drive time and price:
- How long water ran and how far it traveled
- The type of water (clean vs. contaminated)
- Number of rooms and assembly types (tile over slab vs. wood over crawlspace)
- Access for equipment and whether
contents pack out is needed
Typical timeline (varies by loss):
- Day 1: Safety, source control, documentation,
emergency water extraction, set drying equipment.
- Days 2–4:
Moisture mapping, monitoring, targeted removal of unsalvageable materials, continued
dehumidification and airflow.
- Days 3–7: Re-checks, odor control, cleaning; finalize dry-out.
- Reconstruction: Ranges from a few days to several weeks depending on scope.
First 24 Hours Checklist (Printable)
- Ensure personal safety; watch for shock and slips
- Shut off main water / isolate the leak
- Turn off power to wet areas if unsafe conditions exist
- Take photos/video before moving anything
- Move dry valuables to a safe room
- Call insurer; open a
water damage insurance claim
- Contact an IICRC-certified team for
water damage cleanup
- Begin
emergency water extraction and set
dehumidification
- Start moisture detection and moisture mapping
- Plan for remove wet materials if needed to speed structural drying
Frequently Asked Questions
Is it safe to stay in the home during drying?
Often, yes—if the water was clean and areas are contained. For contaminated losses or heavy demolition, temporary housing may be safer.
How long does drying usually take?
Most homes dry in 3–5 days, but complex structures, hardwood, or high humidity can take longer.
What can I do myself?
You can move dry items, set fans in unaffected rooms, and start simple cleaning on hard surfaces—after photos. Leave demolition, disinfecting, and measured drying to pros.
How do I keep odors away?
Dry thoroughly, remove unsalvageable materials, and use proper cleaning and filtration. Lingering smells usually mean hidden moisture.
Will my premiums go up after a claim?
Policies vary. Ask your agent; sometimes fixing the cause (like a burst supply line) and documenting repairs can help.